
Table of Contents
- Why Seasoning a Steel Smoker Matters
- Understanding the Polymerization Process in Smoker Seasoning
- Best Oils for Seasoning BBQ Smokers
- The Initial Burn-In Process for Smokers
- How to Season a New Offset Smoker
- How to Clean Smoker Grates After Cooking
- Troubleshooting Failed Seasoning and Re-Seasoning Your Smoker
- Frequently Asked Questions
Last Updated: October 4, 2026
Why Seasoning a Steel Smoker Matters
Why seasoning a steel smoker is important comes down to one fundamental reality: bare steel rusts. At Blowin' Smoke Cookers, the difference between a smoker that lasts decades and one that deteriorates in a few seasons often comes down to proper seasoning from day one.
Seasoning creates a protective barrier that prevents rust, improves heat retention, and develops a non-stick cooking surface. Without it, manufacturing oils burn off unevenly, leaving your smoker vulnerable to oxidation.
Understanding the Polymerization Process in Smoker Seasoning
Polymerization is the chemical process where oil molecules bond to steel, creating a hard protective layer, like cooking oil into a plastic-like coating rather than a slick surface that washes away.
Here's what happens: when you heat oil to its smoke point, the fatty acids break down and recombine, forming long-chain polymers that stick to the metal. This happens layer by layer. Each seasoning cycle adds another microscopic coating. Over time, these layers build into a durable barrier that resists rust, improves heat distribution, and creates that prized non-stick finish.
A well-polymerized surface handles constant temperature swings, moisture, and ash contact. Without it, you're relying on a thin film that burns away, leaving bare metal exposed.
Most people skip this step or do it halfheartedly. Real seasoning requires multiple cycles at increasing temperatures to build protective layers. Manufacturing oils prevent rust during shipping but don't create a durable cooking surface.
Best Oils for Seasoning BBQ Smokers
Not all oils work equally for seasoning. You need oils that polymerize reliably under heat; the chemistry varies by oil composition and steel type.
Why smoke point matters: Smoke point is the temperature at which oil breaks down and releases visible smoke. For seasoning, you want an oil that reaches its smoke point and continues to polymerize.
Grapeseed oil is the top choice for most pitmasters. It has a smoke point around 420°F and a balanced fatty acid profile that polymerizes cleanly and durably. It doesn't leave sticky residue, won't affect flavor, and works well on cold-rolled steel. The polymerized layer is typically matte and uniform, indicating even bonding.
Canola oil works well too, with a smoke point near 400°F. It's affordable and creates solid seasoning layers. Many pitmasters use canola for initial cycles, then switch to grapeseed for maintenance. Canola can leave a glossier finish, though this is often just visual.
Avocado oil has a smoke point of 520°F, making it excellent for hotter seasoning stages or cast-iron components. It polymerizes well and creates a durable layer, but it's significantly more expensive. Reserve it for high-capacity smokers or re-seasoning after rust damage.
Avoid olive oil, butter, and coconut oil. Olive oil's smoke point is around 375°F, but its fatty acid profile (high in oleic acid, low in linoleic) doesn't polymerize as effectively, resulting in a thin, easily-worn coating. Butter contains water and milk solids that will spatter and create rust-prone pockets.
Material-specific strategy: For cold-rolled steel (standard for offset and barrel smokers), use grapeseed oil or canola oil. For cast-iron components, avocado oil's higher smoke point is advantageous. For electric or pellet smokers, you're only seasoning bare steel components, so canola works fine.
The professional strategy: Start with canola oil for initial 4-5 burn-in cycles. Maintain with grapeseed oil every 3-4 months. If rust spots or flaking appear, switch to avocado oil for a re-seasoning cycle. This balances cost, performance, and longevity.
The Initial Burn-In Process for Smokers
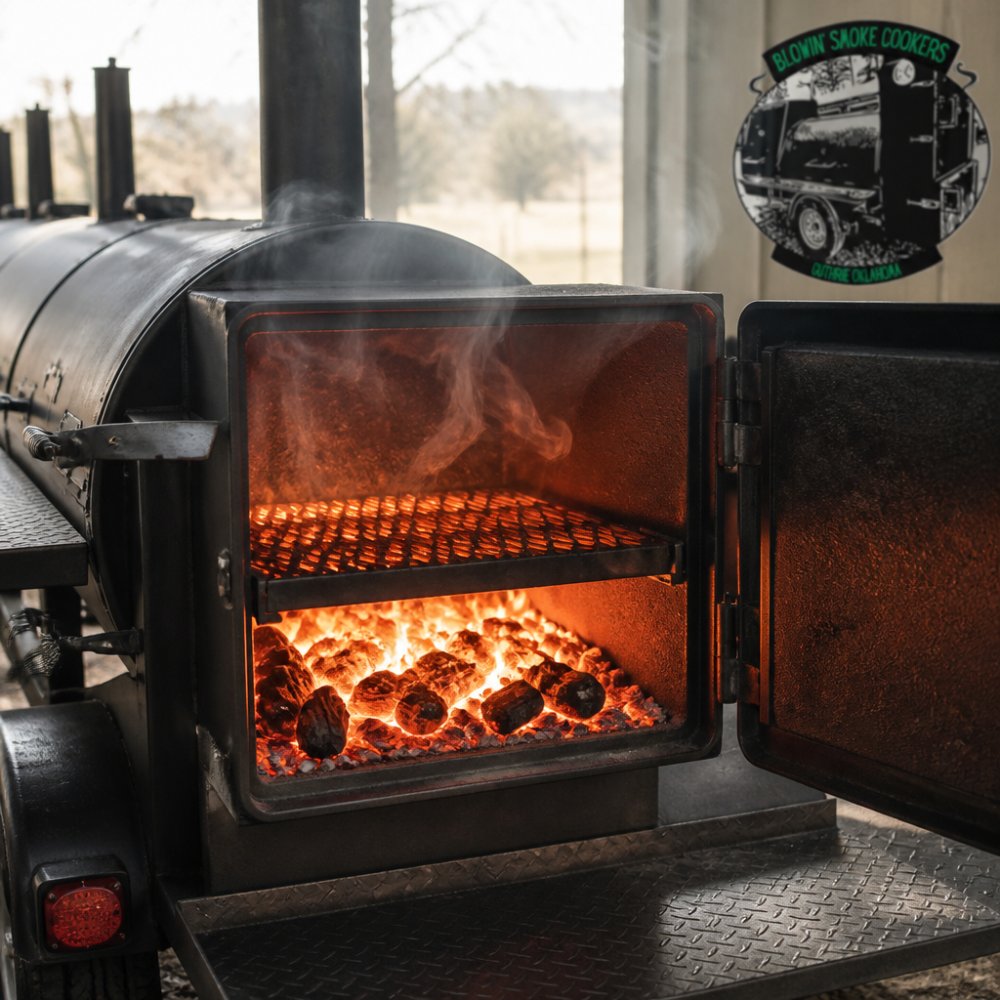
Your smoker's initial burn-in is where seasoning actually happens. This is different from just firing it up to test it. The burn-in process removes manufacturing oils, establishes the first polymerized layers, and stabilizes the metal so it responds predictably to heat.
Step 1: Clean the interior thoroughly. Use a wire brush to remove any loose debris, dust, or packing materials. Don't use water yet, just dry brushing. You want to remove surface contaminants but preserve the manufacturing oils that will help with the first burn.
Step 2: Apply your first oil coat. After the smoker cools slightly (still warm, not hot), brush a thin, even coat of grapeseed or canola oil on all interior surfaces: the firebox, the smoke chamber, the grates, and any internal baffles. Use a lint-free cloth or natural bristle brush.
Step 2: Light a fire and let it run hot Build a fire using hardwood (oak, hickory, or mesquite) and let it burn at around 300°F for 60-90 minutes. This temperature is hot enough to begin burning off volatile compounds in the manufacturing oils without warping the metal. You'll see smoke, lots of it. This temperature is high enough to polymerize the oil without smoking excessively. You'll still see some smoke, this is the oil bonding to the steel.
Step 3: Close all intake and exhaust. Get 1-2 gallon of water in a bucket. Open the door and toss the water in, being careful of the steam created. Quickly close the door.
Step 4: Walk away and let the fire go out. Once everything has cooled off you can open the doors and you will find a nice amber coating adhered to everything. If you want to do it again it will only make the coverage better. The important thing is coverage.
How to Season a New Offset Smoker
Offset smokers present a unique challenge because they have two separate chambers: the firebox and the smoke chamber. How to season a new offset smoker requires attention to both.
The firebox is where the real heat happens. It gets hotter and dries out faster, so it needs extra seasoning attention. Start your burn-in cycles in the firebox first, using the same process above but with longer heating times, 60-90 minutes per cycle. The firebox should see 3-4 complete seasoning cycles before you move to the smoke chamber.
The smoke chamber cooks the meat and is more sensitive to uneven seasoning. Once the firebox is well-seasoned, move to the smoke chamber. Use the same oil and temperature approach, and do 3-4 cycles Make sure to coat the grates, the interior walls, and any baffles or deflectors.
One critical step many people miss: season your thermometer ports. These are small openings where temperature probes go in. Brush oil around them during your seasoning cycles. If you leave bare steel exposed here, rust will start there and spread inward.
After the initial burn-in, maintain your offset smoker by oiling the interior every 3-4 months or after extended periods of storage. A light coat of grapeseed or canola oil heated to 300°F for 20-30 minutes keeps the seasoning fresh and prevents rust from taking hold.
For high-capacity offset smokers like the SNS 60 Cabinet Trailer or SNS Beast, the larger surface area means more time for seasoning, but the principle stays the same: multiple thin layers beat one thick coat.

How to Clean Smoker Grates After Cooking
Proper cleaning after each cook preserves your seasoning and prevents rust from starting on your grates. How to clean smoker grates after cooking matters because moisture and food residue left behind create conditions for corrosion.
While still warm: After you pull your meat off, use a grill brush to scrape away loose debris and buildup while the grates are still warm. The heat makes it easier to remove stuck-on material. Don't wait until the smoker cools, dried residue becomes much harder to remove.
Use a dry brush first. A stiff wire brush works best. Scrub in one direction along the grates to push debris toward the edges. Don't use water at this stage, moisture on hot metal can cause rust to start forming.
For stubborn buildup: If food is really stuck, you can use a damp cloth to wipe the grates while they're still warm, then immediately dry them with another cloth. Speed matters here, don't let water sit on the metal.
Re-oil after cleaning. Once the grates cool and dry, apply a very light coat of oil with a cloth. This replaces the seasoning layer that cooking removes and prevents rust. You don't need much, just enough to see a slight shine.
Store dry. If you're storing your smoker for more than a few weeks, make sure the grates are completely dry. Moisture trapped under the grates will cause rust to spread underneath the seasoning layer where you can't see it.
Cleaning grates immediately after each cook is quick, preserves seasoning, and keeps your smoker performing consistently.
Troubleshooting Failed Seasoning and Re-Seasoning Your Smoker
Sometimes seasoning goes wrong. You might see rust spots, flaking seasoning, or uneven coating. The good news: you can fix it.
Rust spots appearing: This usually means moisture got under the seasoning layer or the initial seasoning wasn't thick enough in that spot. Wire brush the rust away completely, then re-season that area. Apply oil, heat to 350°F for 30-45 minutes, cool, and repeat 2-3 times.
Flaking or peeling seasoning: This happens when seasoning layers weren't bonded properly, usually because the oil was applied too thick or the temperature wasn't high enough during polymerization. Strip the affected area with a wire brush, start fresh with a thin coat of grapeseed oil, and heat to 400°F for 60 minutes.
Uneven, patchy seasoning: This is cosmetic if there's no rust, but if you want uniform coverage, you can do a full re-seasoning. Wire brush the entire interior to remove loose seasoning, then run 2-3 complete burn-in cycles as described above. This is more work than spot-fixing, but it ensures consistent protection across all surfaces.
Seasoning that keeps washing away: You might be using oil with too low a smoke point, or your heating temperature is too low. Switch to grapeseed oil and increase temperature to 400°F minimum during seasoning cycles. Lower temperatures won't create durable polymerization.
When to re-season your whole smoker: If your smoker is several years old and showing widespread rust despite regular maintenance, a full re-seasoning might be worth the time. It's a weekend project: strip the interior with a wire brush, run 4-5 full burn-in cycles, and you've essentially rebuilt your protective barrier.
The key insight here is that seasoning isn't a one-time event. It's ongoing maintenance. Every time you cook, you're wearing away some seasoning. Every time you clean, you're replacing it. The smokers that last decades are the ones where owners treat seasoning as part of regular care, not an afterthought.
Seasoning a steel smoker properly isn't optional if you want your equipment to last and perform consistently. At Blowin' Smoke Cookers, we recommend starting with our high-capacity reverse flow smokers like the SNS 72 Cabinet Smoker or SNS Beast, which are engineered to season evenly and maintain that protective coating through years of heavy use.

Frequently Asked Questions
What happens if you don't season your smoker?
Without seasoning, your steel smoker is vulnerable to rust and corrosion, especially in humid conditions. The bare metal oxidizes when exposed to moisture and oxygen, creating surface rust that can spread and compromise structural integrity. Additionally, unseasoned smokers lose heat efficiency because the bare steel lacks the protective coating that helps with thermal conductivity and heat retention. Over time, this leads to temperature swings and uneven cooking.
What is the best oil to use to season a smoker?
High smoke point oils are essential for seasoning a steel smoker. Grapeseed oil, canola oil, and avocado oil are excellent choices because they can withstand high temperatures without breaking down. These oils create a durable non-stick barrier through polymerization when exposed to heat. Avoid low smoke point oils like olive oil, which will burn off quickly and fail to build a protective coating. Apply oil in thin layers and bake at 400-500°F for best results.
How often do you need to re-season a steel smoker?
Most steel smokers need re-seasoning annually or after extended periods of heavy use, especially if you cook year-round. If you notice rust spots, carbon buildup becoming excessive, or the non-stick barrier wearing away, it's time to re-season. Regular maintenance between seasoning cycles, like cleaning grates after cooking and managing ash properly, extends the time between full re-seasoning.
Does seasoning a smoker prevent rust?
Yes, seasoning creates a protective moisture barrier that significantly reduces rust formation on steel smokers. The polymerized oil coating prevents direct contact between the metal and humidity, which is the primary cause of corrosion. However, seasoning works best when combined with proper maintenance: keep the interior dry, manage ash buildup, and store your smoker covered when not in use. A well-seasoned smoker with regular care will resist rust for years.